 how-to
How to Install Infrared Sauna in a Spa
Table of Contents
- What You'll Need Before Installing an Infrared Sauna
- Infrared Sauna Room Requirements for Commercial Spas
- Infrared Sauna Electrical Requirements and Power Setup
- Step-by-Step Assembly and Installation Process
- Permits, Building Codes, and Commercial Compliance
- Infrared Sauna Installation Cost and Timeline
- Infrared Sauna Maintenance Checklist and Operating Procedures
- Common Installation Mistakes to Avoid
- Frequently Asked Questions
Last Updated: October 10, 2026
What You'll Need Before Installing an Infrared Sauna
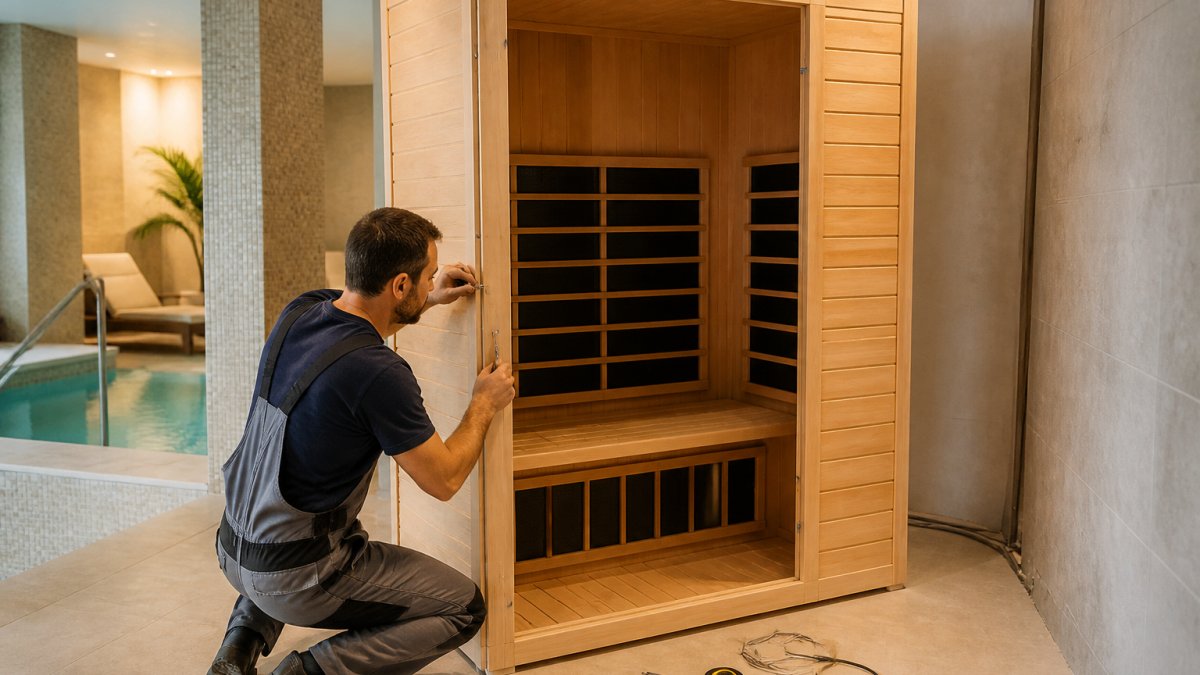
Learning how to install infrared sauna in a spa requires specific tools and materials to ensure safe assembly and proper function. Before you begin the installation process for how to install infrared sauna in a spa, gather everything you'll need on-site.
Essential tools include:
- Phillips and flathead screwdrivers
- Impact drill or power drill with bits
- Step ladder or work platform
- Measuring tape
- Level
- Adjustable wrench
- Gloves for handling panels
Materials you'll need depend on your specific sauna model, but typically include the sauna panels themselves, fasteners, door frame components, roof or ceiling panel, control panel, and electrical connection hardware. Most manufacturers include detailed component lists with their equipment.
Many spa owners underestimate the importance of having a second person present during assembly. Panel positioning and alignment require coordination, and a helper prevents mistakes that could delay your opening timeline.
Infrared Sauna Room Requirements for Commercial Spas
The space where you install your infrared sauna directly affects performance, client safety, and profitability. Commercial spa environments have specific requirements that differ from residential setups.
Your room needs a level, stable floor that can support the sauna's weight plus client occupancy. Concrete or reinforced flooring works best. Uneven floors cause panel misalignment and create gaps that waste heat and energy.
Minimum room dimensions depend on your sauna model, but most commercial units require at least 8 feet by 8 feet of floor space. Larger spas benefit from 10 by 10 feet to allow client circulation and staff access.
Ventilation matters significantly for infrared sauna room requirements in commercial spaces. You need dedicated ventilation that removes moisture and maintains air quality.
Temperature control in the surrounding room prevents excessive heat loss. Insulating walls and keeping the sauna area separate from high-traffic zones improves efficiency.
Infrared Sauna Electrical Requirements and Power Setup
Electrical safety is non-negotiable when you install infrared sauna equipment in a commercial setting. Most commercial infrared saunas require dedicated electrical circuits separate from other spa equipment.
Standard commercial infrared sauna electrical requirements typically demand:
- Dedicated 240V circuit for larger units
- 30-60 amp breaker depending on sauna wattage
- Proper grounding and bonding
- GFCI protection in wet environments
- Certified electrician installation
Your electrician must verify that your facility's electrical panel has capacity for the additional load. Older spas sometimes lack sufficient breaker space, requiring panel upgrades before sauna installation can proceed.
Distance from the sauna to your electrical panel affects installation cost and complexity. Runs longer than 50 feet may require larger gauge wiring, which increases expenses. Plan your sauna location with electrical access in mind.
Outlet placement should be 6 feet minimum from the sauna exterior to prevent moisture exposure. The outlet should be accessible for maintenance but not in client walkways. Many spas install a dedicated sub-panel near the sauna to simplify future modifications.
Step-by-Step Assembly and Installation Process
Installing an infrared sauna in a spa follows a logical sequence. Rushing any step creates problems that become expensive to fix later.
Unboxing and Inspecting Components
When your sauna arrives, inspect every component before assembly begins. Damage during shipping happens frequently, and catching it immediately protects your warranty coverage.
Check that all panels are present and undamaged. Look for cracks, warping, or dents in wood components. Verify that all fasteners, hardware, and electrical components match the packing list. Test the control panel to confirm it powers on and displays correctly.
Document any damage with photos before you begin assembly. Contact the manufacturer immediately if components are missing or defective. Proceeding with damaged equipment wastes time and creates safety issues.
Positioning and Securing Panels
Start by positioning your floor panel in the exact location where the sauna will remain. Use a level to verify the floor is truly flat. Shim as needed to correct any slope, even slight inclines cause panel misalignment and heat loss.
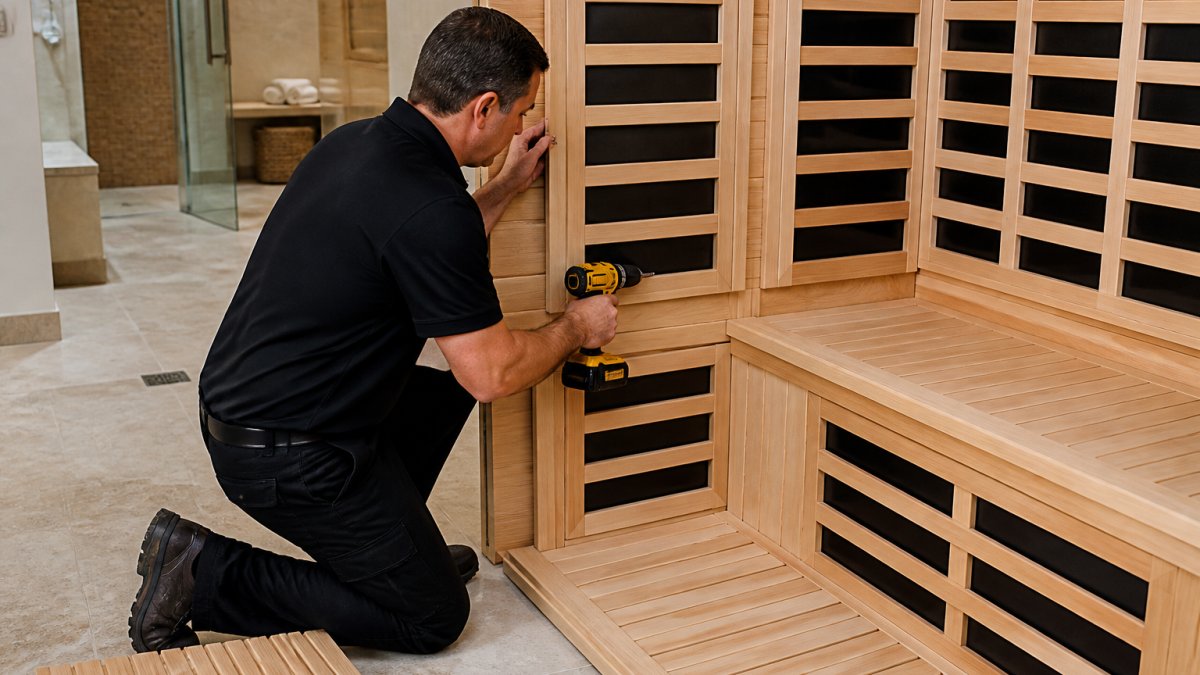
Assemble wall panels according to your manufacturer's instructions. Most commercial saunas use clasp-together or bolt-together systems that require no tools beyond a wrench. Start with one wall, securing panels from bottom to top. Check alignment frequently with a level as you progress.
Connect the second and third walls, ensuring corners are square. Many installers use temporary bracing to hold panels in position while fastening. This prevents panels from shifting during final connection.
Secure the bench or seating platform. Most commercial models have adjustable bench height to accommodate different client preferences. Ensure benches are level and firmly attached to the frame.
Installing the Door Frame and Roof Panel
The door frame connects to the wall panels and must be perfectly square for the door to operate smoothly. Install the frame according to specifications, checking that the opening is true on all sides.
Hang the sauna door carefully. Most commercial doors are heavy and require two people to position correctly. The door should seal properly without excessive force, binding doors indicate frame misalignment.
Install the roof or ceiling panel last. This panel completes the thermal enclosure and is critical for heat retention. Secure it firmly to prevent vibration or movement. Some models require additional bracing for structural integrity.
Connecting Electrical and Control Systems
Once the physical structure is complete, your certified electrician connects the main power supply. This involves running wire from your dedicated circuit breaker to the sauna's main electrical box.
Install the control panel inside the sauna according to specifications. The panel should be mounted at a height clients can easily access and read. Ensure all wiring connections are secure and properly labeled.
Test all controls and safety features before allowing client use. The temperature display should read accurately. Emergency shut-off functions must work instantly. Many manufacturers require a test run at maximum temperature for 30 minutes before commercial operation begins.
Permits, Building Codes, and Commercial Compliance
Commercial sauna installation requires permits and compliance with building codes. These requirements vary by state and local jurisdiction, but ignoring them creates serious legal and safety consequences.
Contact your local building department before purchasing equipment. They'll specify which permits you need and what inspections are required. Some jurisdictions require separate electrical, plumbing, and structural permits even for sauna installation.
Building codes address electrical safety, ventilation, emergency egress, and structural requirements. Your sauna location must have an accessible exit route. Electrical work must comply with the National Electrical Code (NEC) standards (Learn More About NFPA 70, National Electrical Code (NEC)). Ventilation must meet ASHRAE standards for moisture removal.
Many states require that commercial sauna installation be performed or supervised by licensed professionals. Electrical work definitely requires a licensed electrician. Some jurisdictions also require licensed contractors for structural assembly.
Documentation is critical. Keep all permits, inspection reports, and manufacturer certifications on file. These records protect you if questions arise and demonstrate due diligence to insurance companies.
Infrared Sauna Installation Cost and Timeline
Understanding costs and timelines helps you plan your business launch or expansion realistically. Installation expenses vary significantly based on your specific situation.
Material costs for commercial infrared saunas depend on size and features. Labor costs include electrician fees, installation technician time, and any structural modifications. Permit and inspection fees vary by jurisdiction but typically range from several hundred to several thousand dollars.
Timeline expectations depend on several factors. Permit approval alone can take 2-4 weeks. Electrical work typically requires 1-2 days once permits are approved. Physical assembly and installation usually takes 2-3 days for a standard commercial unit. Final inspections and testing add another 1-2 weeks.
Many spa owners underestimate timeline impact. Delays in permit approval, electrician availability, or building modifications can push your opening back significantly. Start the permit process immediately when you decide to add infrared sauna services.
At Eternall Wellness, we help spa operators evaluate the business case for infrared sauna installation. Our approach considers not just equipment costs but revenue potential, client demand, and integration with your existing services.
Infrared Sauna Maintenance Checklist and Operating Procedures
Proper maintenance extends your sauna's lifespan and keeps clients safe. Establish routines before your sauna opens to clients.
Daily maintenance includes:
- Wiping down benches and interior surfaces
- Checking that temperature controls function properly
- Verifying emergency shut-off systems work
- Inspecting for visible damage or wear
Weekly maintenance involves:
- Deep cleaning interior surfaces with appropriate cleaners
- Checking door seals and hinges
- Testing all control panel functions
- Reviewing temperature logs for consistency
Monthly maintenance includes:
- Inspecting electrical connections and wiring
- Checking ventilation system operation
- Testing GFCI outlets for proper function
- Reviewing sauna usage logs for any anomalies
Staff training is essential. Your team must understand how to operate the sauna, respond to client questions, and identify problems. Most manufacturers provide training materials and some offer on-site training for a fee.
Create a maintenance log documenting all service performed. This record helps track patterns and plan major maintenance. It also protects you if client issues arise, documentation shows you maintained equipment properly.
Common Installation Mistakes to Avoid
Learning from others' mistakes saves time, money, and frustration. These are the errors we see most frequently in commercial infrared sauna installations.
Skipping the level floor check creates ongoing problems. Even slight slopes cause panels to misalign, creating gaps that waste heat and energy. Always verify your floor is level before positioning panels.
Rushing electrical work leads to safety issues and code violations. Using unlicensed electricians might save money initially, but creates liability exposure and voids warranties. Always hire certified professionals for electrical work.
Inadequate ventilation causes moisture buildup that damages the sauna structure and creates mold risk. Plan ventilation during the design phase, not after installation.
Ignoring permit requirements creates legal exposure. Building departments conduct random inspections of commercial facilities.
Underestimating timeline allows insufficient preparation time. Staff need training. Marketing materials need development. Client communication systems need setup. Rushing these steps undermines your launch success.
Poor placement decisions affect profitability. Locating the sauna far from your reception area reduces client usage. Positioning it in noisy areas creates an unpleasant experience.
Installing infrared sauna equipment in a commercial spa is complex but manageable with proper planning and professional guidance.
Frequently Asked Questions
Do you need a 220-volt line for an infrared sauna installation?
Most commercial infrared saunas require either a 110-volt or 220-volt dedicated circuit, depending on the model's power draw. Larger units typically need 220-volt service to operate efficiently. A certified electrician must assess your facility's electrical capacity and install a dedicated breaker to prevent overload. Never share a circuit with other equipment. Check your sauna's specifications and have a licensed electrician confirm your building's capacity before installation.
What are the key infrared sauna room requirements for a commercial spa?
Your infrared sauna installation requires a level floor, adequate clearance around all sides (typically 12-24 inches minimum), proper ventilation to manage heat and moisture, and access for delivery and assembly. The room should have electrical outlets nearby and climate control to maintain safe operating temperatures. Ensure the floor can support the sauna's weight and that the space allows clients safe entry and exit. Consult your sauna manufacturer's specifications and local building codes for exact clearance and ventilation requirements.
How much does infrared sauna installation typically cost for a commercial facility?
Installation costs vary based on unit size, electrical upgrades required, room modifications, and labor. Eternall Wellness offers financing options to help preserve capital while expanding your service offerings. Contact Eternall Wellness for a quote tailored to your facility's specific needs and electrical situation.
What maintenance does an infrared sauna need after installation?
Commercial infrared saunas require regular cleaning of benches and interior surfaces, checking electrical connections monthly, inspecting heater panels for damage, and testing the control panel and safety features. Establish a daily cleaning routine between client sessions and conduct monthly safety checks. Keep a maintenance log and follow the manufacturer's maintenance schedule. Proper ventilation system upkeep is essential to prevent moisture buildup. Address any electrical issues immediately and schedule professional inspections annually.